Connect to a server#
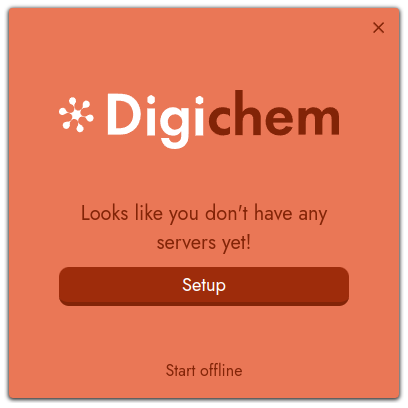
When you start the GUI for the first time, you’ll be greeted by a window informing you that you don’t have any servers yet:
Confused on what a Server is?
Quantum chemistry calculations are very computationally intensive, so much so that they can’t normally be run on your personal machine (like your desktop or laptop). If you did try and run a calculation on your laptop, it would quickly run out memory and crash, or otherwise would take many many hours to complete.
Instead, most quantum chemistry calculations are run on a remote server cluster. This is a combination of many individual computers working together to provide the computational resources that the calculation needs. These clusters are connected via a network, and are normally accessed over the internet.
Create a new server#
To connect to your first server, click the Setup button. This will launch the New Server window:

First, we need to give the new server connection a name! This is just so we can identify it later, and has no bearing on the connection itself. In this example, we’ll call the server Deep Thought, because that’s its name:
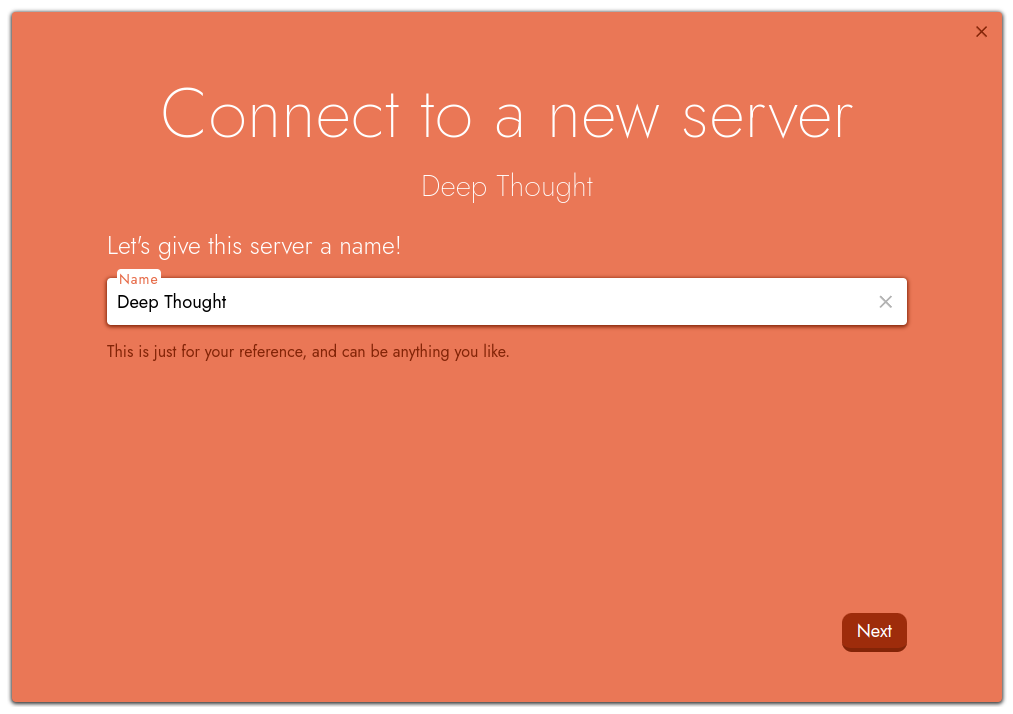
Once you’ve entered the server name, click Next to continue.
Login details#
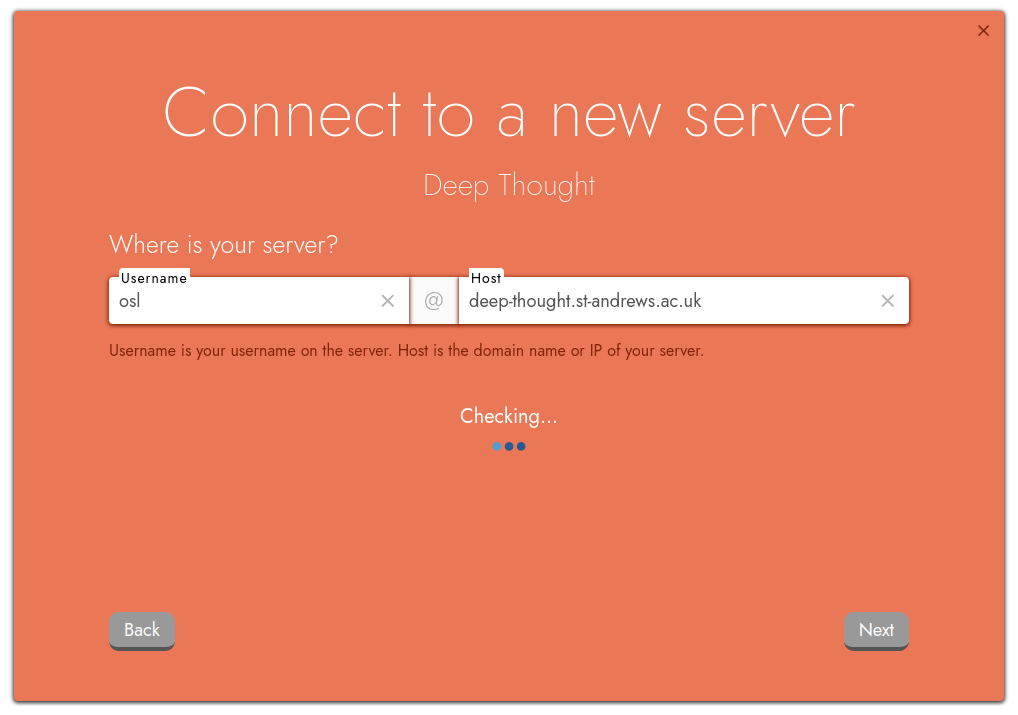
We’ll next be asked for some of our login details to access the server. Your username is unique to you, and is often made up of your initials and possibly some unique numbers. The host is the address on the internet where your server is located. This will depend on which server you are connecting to.
Hint
Not sure what your login details are? Check with whoever administers your computational cluster, they should be able to provide them for you!
In this example, we’ll be using my login details of osl, and deep-thought.st-andrews.ac.uk. Once you have entered yours details, click the Next button, and Digichem will check that it can contact your server:
If Digichem can’t connect for some reason, an error message will be displayed:
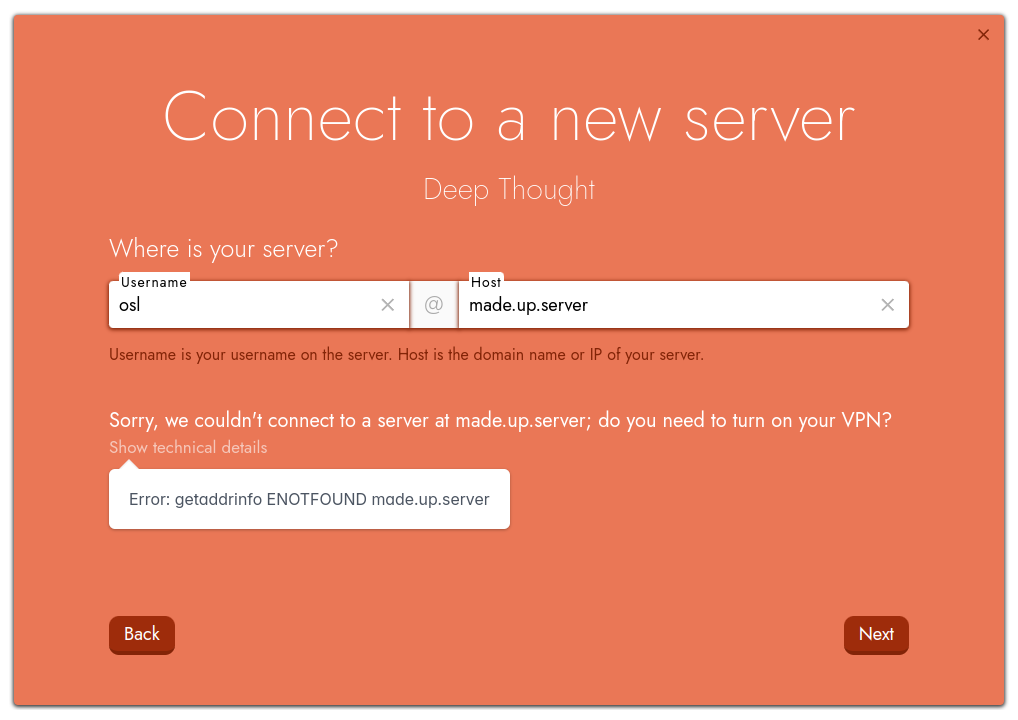
Check that you’ve typed your details correctly, especially the server host. Also, check your VPN is enabled if your server requires one.
Authentication#
Next, Digichem will prompt for your authentication details. This is how you prove to the server that it’s really you. Most servers use either a password or an SSH key file, but you can configure multiple methods if that’s supported by your cluster:

Using a password#
A password is probably the simplest way of logging in. Switch the I use a password option to on, and enter your password in the box provided:
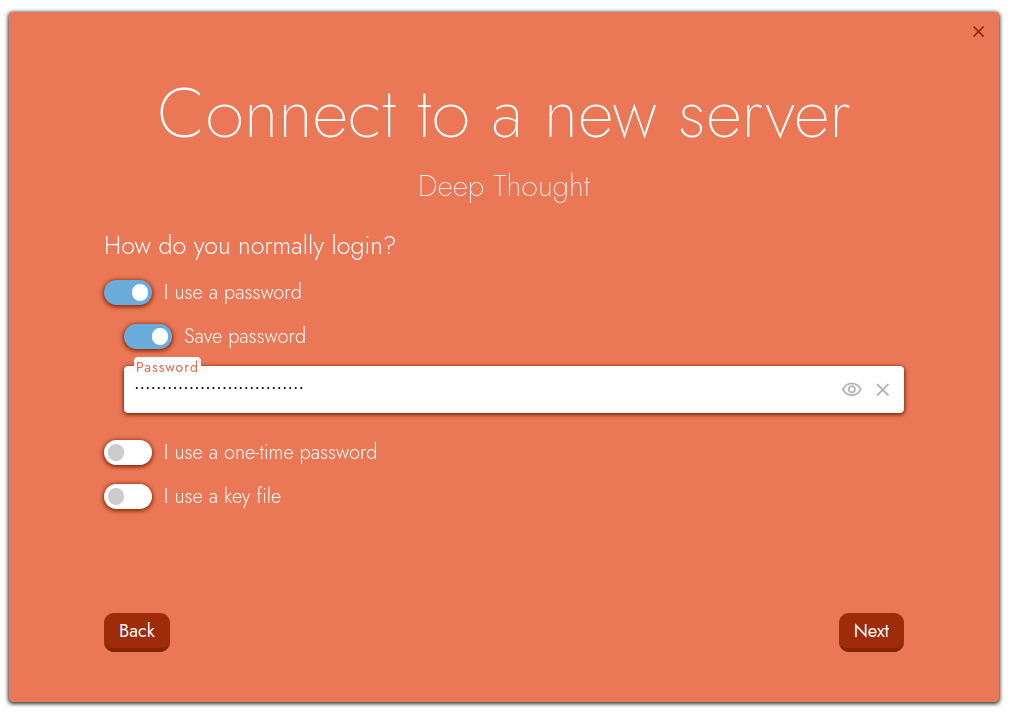
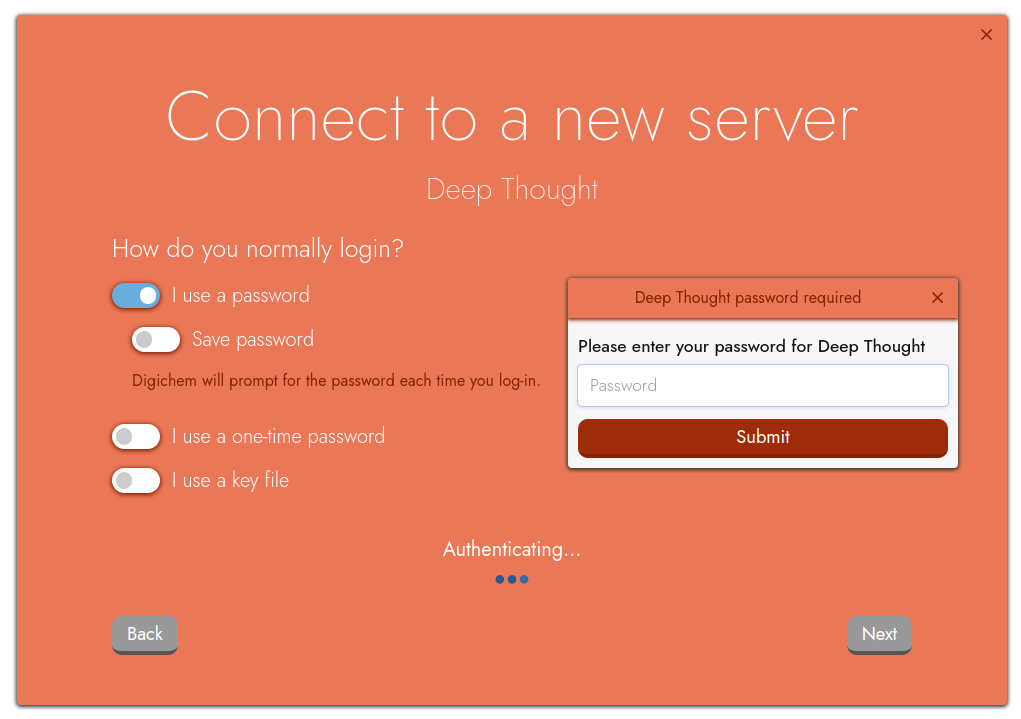
Alternatively, if you don’t want Digichem to save your password for you, switch the Save password toggle to off. Digichem will then prompt you for your password each time you login:
Using a one-time password (OTP)#
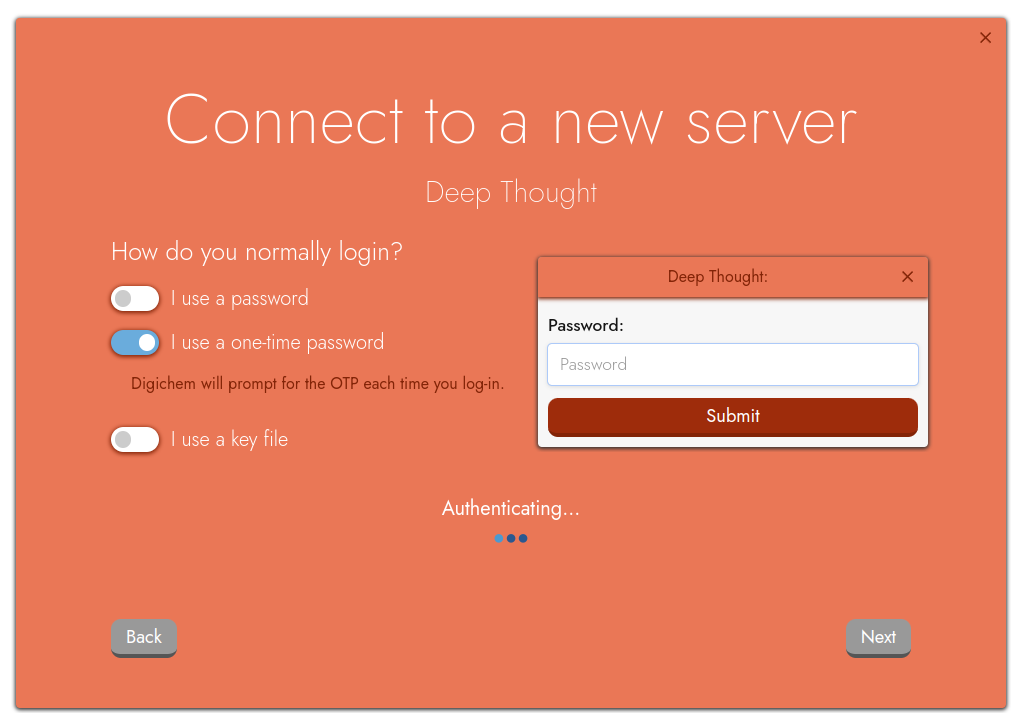
Some servers use an authentication scheme called one-time passwords (OTP), where the server generates a new password each time you log in. This ‘one-time’ password is then sent to you by some means, perhaps by a text message or using an app on your phone.
If your server uses OTP, switch the I use a one-time password option to on, and Digichem will prompt you for the password whenever it needs it:
Technical note
One-time password authentication uses Keyboard-Interactive Authentication behind the scenes. Because this is most commonly used for challenge/response type authentication where the response changes regularly (like OTP), Digichem doesn’t currently offer to store ‘passwords’ for Keyboard-Interactive Authentication. If this would be useful for your setup however, please do let us know by creating an issue for it.
Using a key file#
Key file authentication is very convenient, because it doesn’t require any passwords from you at all. If you normally log in to your server without typing a password, this is probably the right option for you.
If you server uses key files, switch the I use a key file option to on, and then find where you saved your key file on your hard drive:

Some key files are encrypted with a password of their own. If your key file is encrypted, make sure to also specify the password in the Key file password box:
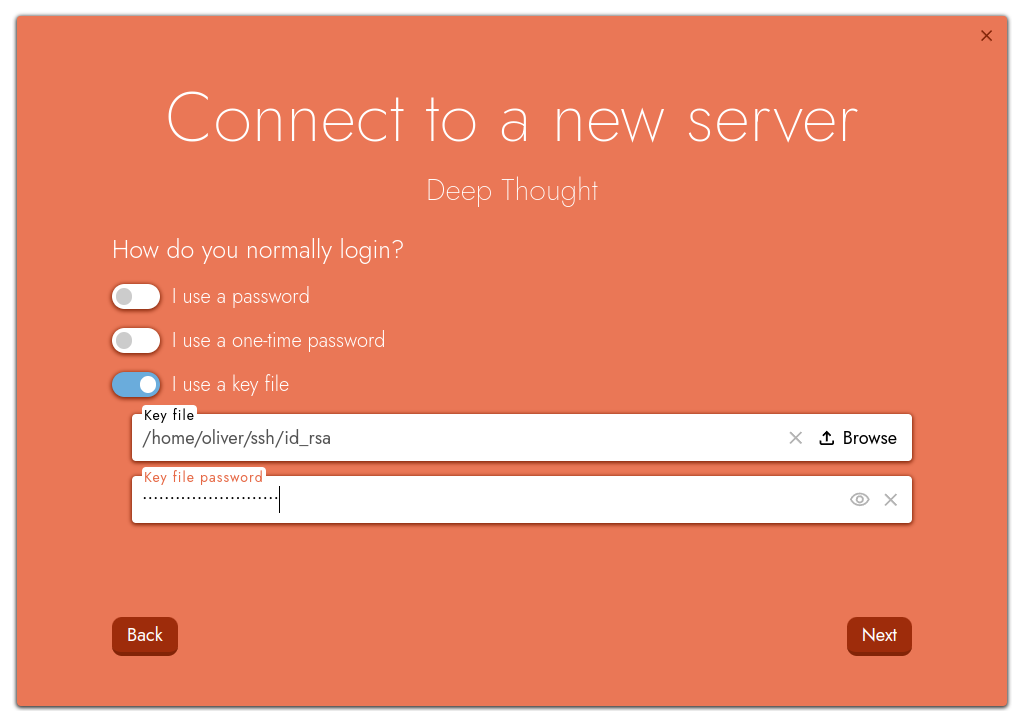
Multiple Schemes#
Some servers require more than one authentication scheme, in which case you may need to use more than one option.
In this example, we’re specifying both a login password and a key file. Additionally, because the key file is encrypted, we’re specifying a separate password just for the key file! Clearly Deep-thought is very paranoid about security:
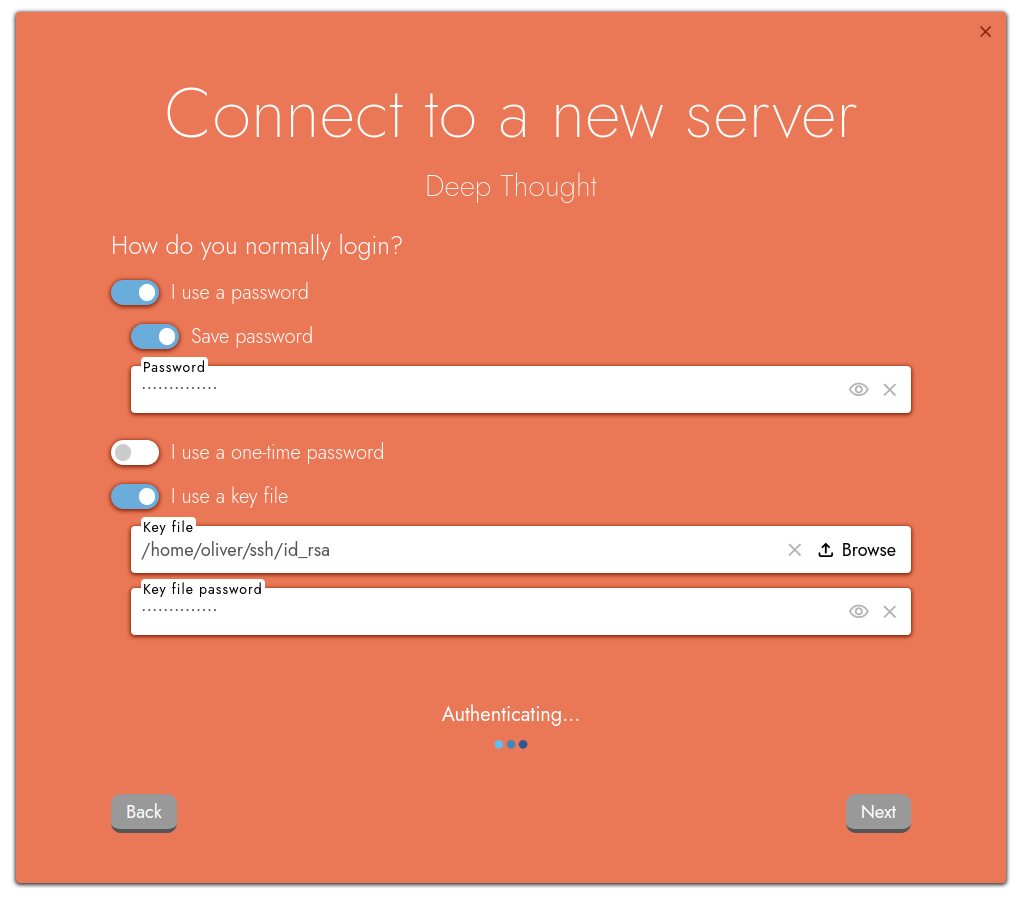
Once you’ve entered your login details, click Next once again, and Digichem will check your details.
License key#
Next, Digichem will prompt us for our license key. This is unique to you, so make sure not to share it with anyone! You can find your license key in your welcome email:
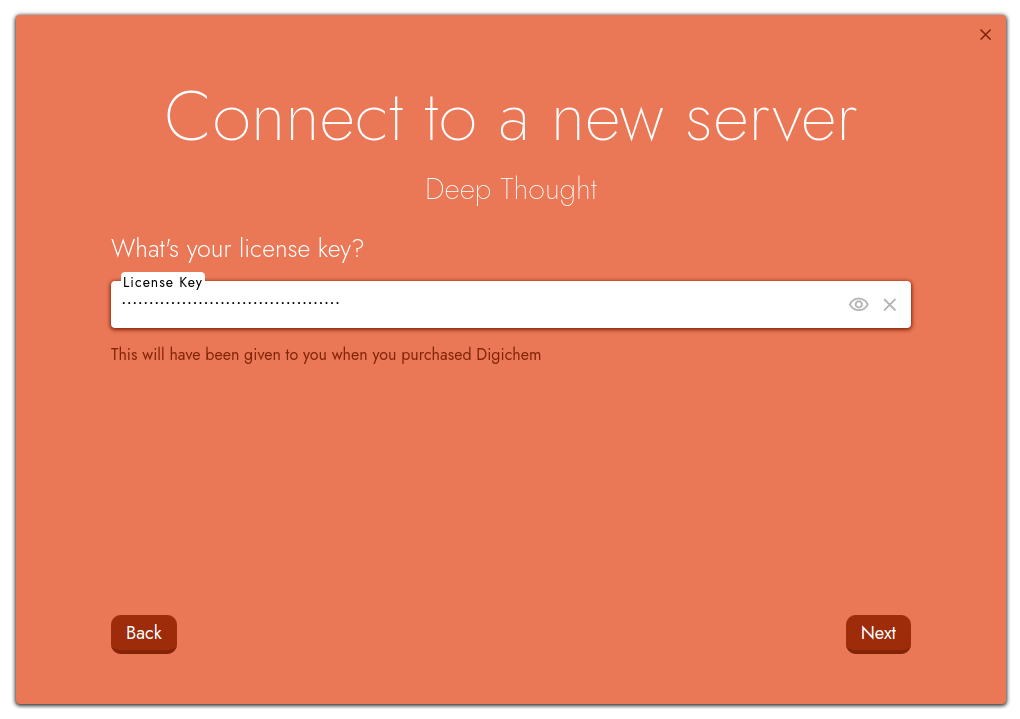
Once you’ve entered your key, click Next.
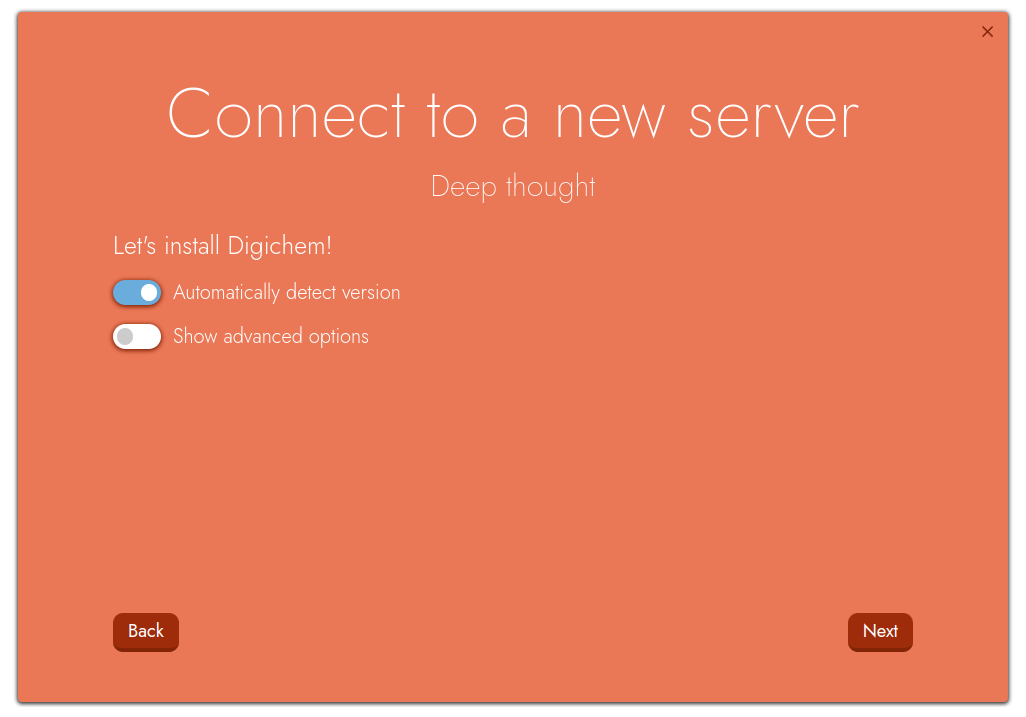
Install server#
Digichem will then prepare to install the backend components on to your computational cluster. This is the part of the program that actually manages the calculations themselves, and means you don’t have to leave the GUI open all the time while your calculations occur in the background.
If you want to install a specific backend version, you can do so here. Most of the time however, you can simply leave the options as they are and click Next:
Digichem will then begin automatically downloading the backend:
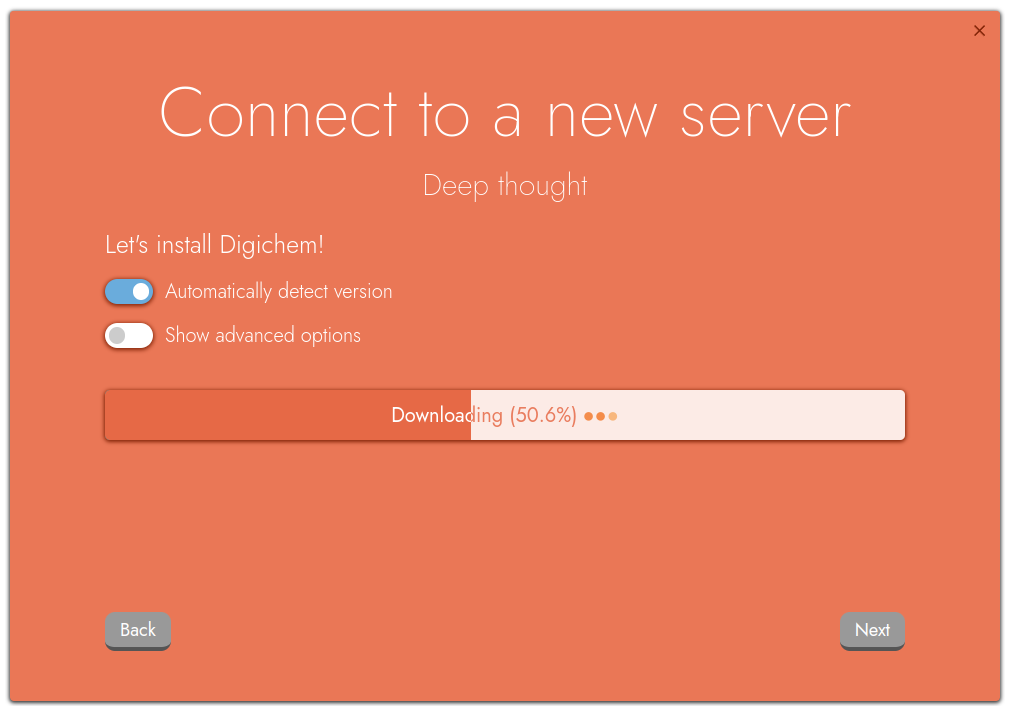
Once finished, Digichem will check the installation for errors, and will then move on to the next step.
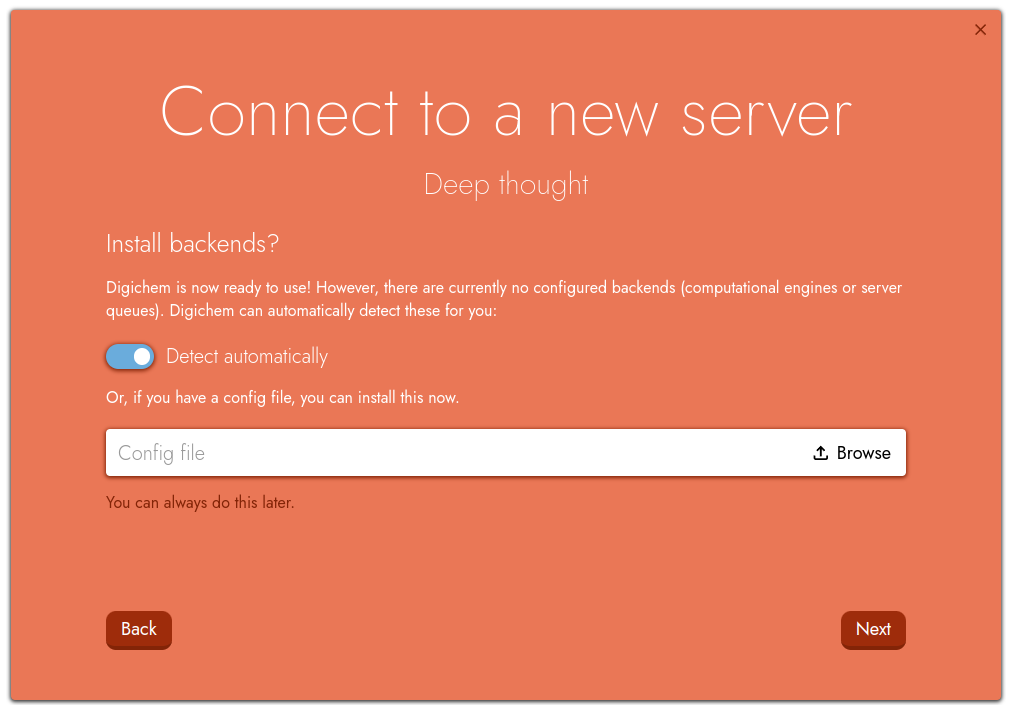
Detect server resources#
We are now at the final step! Digichem will ask if we want to automatically detect server resources, or upload them manually. Most of the time, we want Digichem to detect them automatically, so we can leave the options as they are and simply click Next:
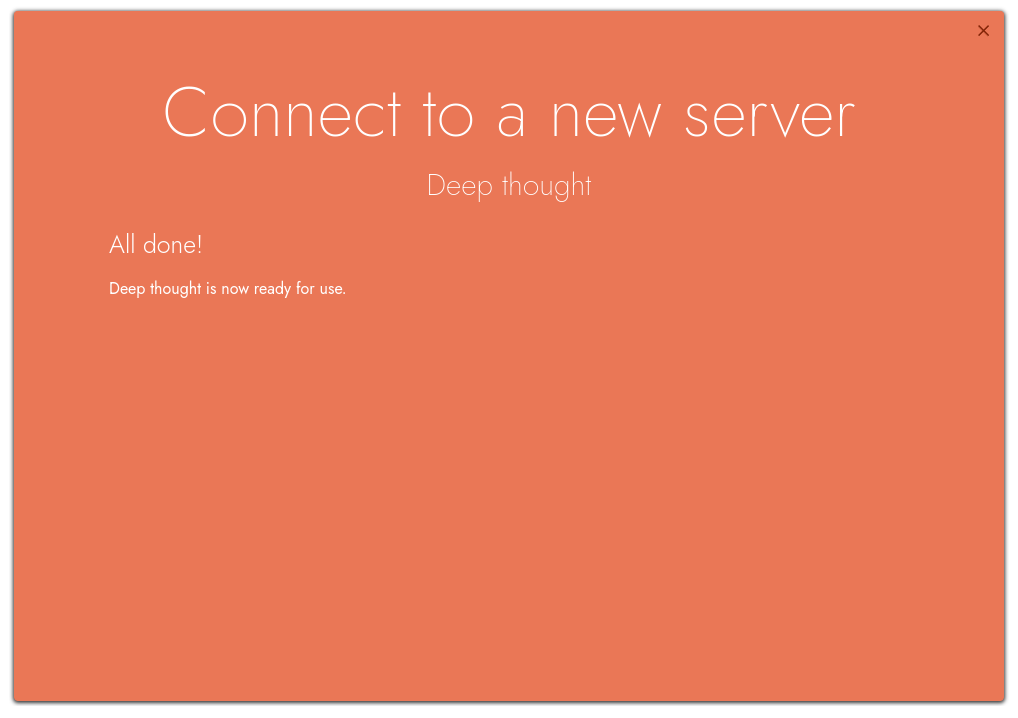
Once the connection has been established, Digichem will display an ‘All done!’ message before starting the program fully: